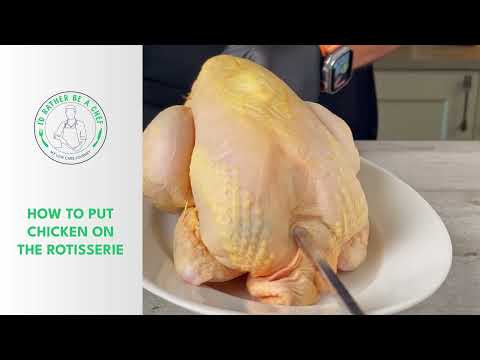


How to Put Chicken on Rotisserie
Putting a chicken on the rotisserie spit is quick and easy with the right equipment and a little guidance. In this guide, I’ve shown you the steps and given a number of tips so that you can do this in your own kitchen with skill and precision and prepare a flavorful rotisserie chicken.
Servings: 1 Chicken
Instructions
- Lay the roasting bar on the counter with the sharp end on the left and the blunt end on the right.
- Center the trussed chicken next to the roasting bar. This will act as our guide for where to place the first meat fork.
- Slide one of the meat forks over the blunt end of the roasting bar with the tines facing the sharp end. When the meat fork aligns with the tail of the chicken, clamp it to the roasting bar.
- Pick up the roasting bar and position the sharp end facing the cavity of the trussed chicken. Gently slide the bar into the cavity, with the exit point being the neck. The roasting bar should pierce the skin around the neck easily. The chicken is now threaded.
- Next, focus attention on the clamped meat fork. Try to get the tines of the meat fork into the main body of the chicken rather than the legs. This will secure the chicken to the rotisserie better than if the legs are skewered.
- Once the first meat fork has been placed, slide the second meat fork onto the roasting bar with the tines facing the chicken.
- Hold the roasting bar with the chicken resting on the cutting board or counter with your right hand. Press the meat fork firmly into the breast meat of the chicken with your left hand. While holding the position with your left hand, release your right and tighten the clamp on the meat fork.
- Pick up the chicken on the roasting bar and give it a gentle spin, imitating the rotation of the rotisserie. Everything should feel tightly clamped in place without any movement.
- If you feel movement, adjust the meat forks appropriately.
- Congratulations, you have just put chicken on the rotisserie!
- Now, it’s time to cook the perfect rotisserie chicken.
Notes
Get to know how to remove the giblets from the bird cavity, wash the chicken, and truss it perfectly in this guide, where I have shared the secret tips I learned as a professional chef!