Sharing is caring!
When I began my low carb journey back in 2017, I feared I’d have to say goodbye to some of my favorite foods, like corn taco shells. But, to my delight, I discovered that you can make Cheese Taco Shells that are totally low carb! This idea wasn’t mine originally—I stumbled upon it in a Facebook video years ago and just had to try it. It’s incredibly simple, and the taco shells are absolutely amazing. I love them so much that I even created a custom taco shell station to make them in bulk. Let me share how I did it!
This recipe is: Low Carb, Keto, Gluten Free and Vegetarian


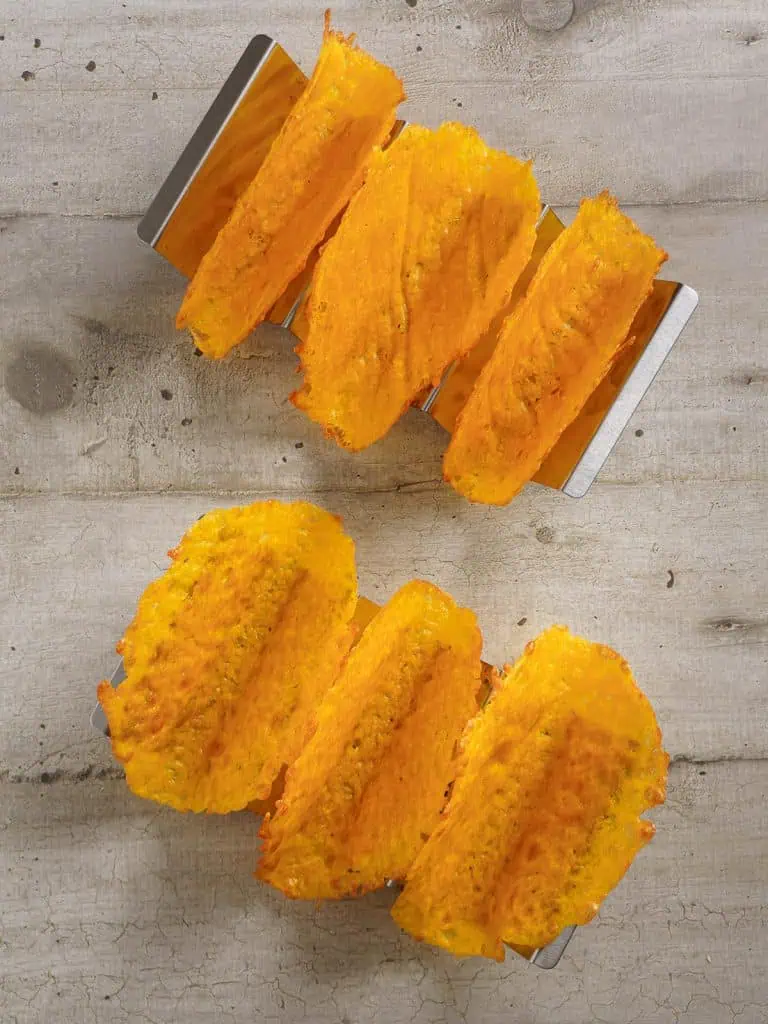
Table of Contents
5 Reasons To Love This Recipe
Get ready to fall in love with these cheese shells! Here’s why:
- Completely low carb and keto-friendly!
- Perfect for making in bulk to serve the whole family!
- So tasty, you’ll never miss corn taco shells again!
- Ready in minutes with just one ingredient!
- BONUS: No need to add cheese on top—it’s already in the shell! More room for extra toppings!
Are Cheese Taco Shells Low Carb?
Yes, cheese taco shells are low carb. In this recipe, each taco shell has only 1 g net carbs per serving. So, if you’re having any taco cravings, these taco shells are a must try.
Cheese Taco Ingredient List
You just need one ingredient to make cheese tacos:
- 2 cups shredded cheddar cheese
Note: When buying cheddar cheese for this recipe, it is best not to buy the discount cheddar cheese. See my Pro Tip below for more information.

Ingredient Substitutions
Looking to switch things up or use what you have on hand? Here are some tasty alternatives for making these keto taco shells:
- Monterey Jack: This cheese melts beautifully and has a mild flavor that works well with various toppings.
- Colby: Similar to cheddar, Colby offers a rich, creamy texture that pairs nicely with your favorite taco fillings.
- Mozzarella: A versatile option, mozzarella cheese taco shells provide a milder taste and stretchy texture, making it a great substitute.
- Cheese blends: Feel free to mix different cheeses for a unique flavor combination. Combining cheddar with Monterey Jack or Colby can add a delicious twist. You can even try making parmesan taco shells.
Additional Ingredients
Want to jazz up your nacho cheese taco shells? Here are some simple ingredients to elevate the flavor and make them even more delicious:
- Spice: you can add some spices to the cheese itself to make it taste even better. This is all going to be just sprinkled onto the cheese before they are baked. Try any of the following, or a combination of the following:
- Chili powder
- Cayenne powder
- Chipotle powder
- Roasted red pepper flakes
- Ground cumin
- Ancho powder
- Dried oregano
- Chorizo: Now, this is a really special treat. If you have ever made my homemade chorizo recipe, you can drain just a little bit of it really well on paper towels, then chop it finely. Sprinkle it around on the cheese before baking and you have a chorizo cheddar cheese taco shell. Just be sure to dab off the excess grease after baking, but they are just so good.
- Bacon bits: Finely chopped homemade bacon bits make a delicious addition. I know that bacon isn’t a traditional ingredient used in Mexican cuisine, but it pairs really well with the cheddar and adds a nice undertone to the taco.
Note: These ingredients are not part of the original recipe- use them to enhance or customize the recipe to your liking.
Cooking Tools Required
Here is the list of cooking tools you’ll need to make crunchy cheesy taco shells:
- Cheese grater (if not using pre-shredded cheese from the grocery store)
- Rimmed baking sheet
- Parchment paper (not waxed paper!)
- Spatula
- Wooden spoon and 2 glasses (for forming the taco shells)
- Paper towels
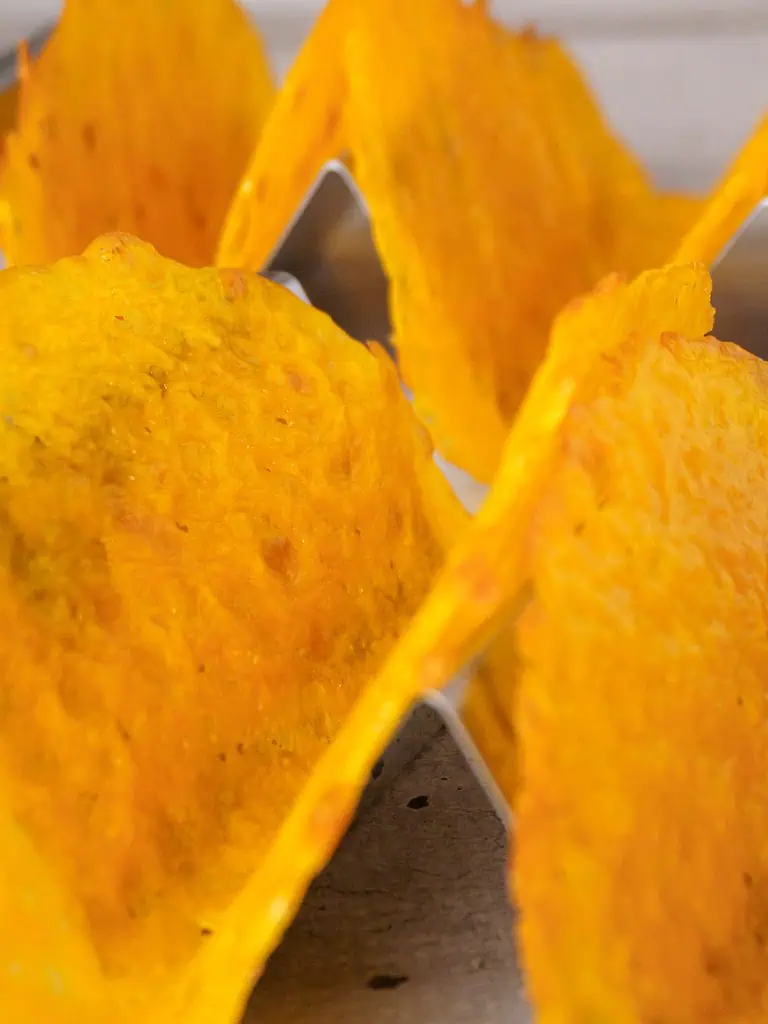
How To Make Cheese Taco Shells: Complete Cooking Guide
This recipe is really wonderfully easy to make. Let’s take a walk through it together.
Cooking Method
- Baking
Preparation Steps
- Preheat the oven to 400F (200C) and arrange the rack so that it is near the top of the oven.
- Create your cooling rack, either as a station as I have described or by propping up several wooden spoons over glasses.
- Line your baking sheet with parchment paper.
- Either use a 6” ring mould or draw three, 6” circles on the parchment paper. If drawing on the parchment paper, flip the paper over so the graphite does not get into your cheese taco shells. You will still be able to see the lines through the paper.
- Place about ¼ cup of shredded cheese onto the baking sheet inside the ring mould or inside the lines that were drawn on the parchment paper. Be sure to leave some space between each circle so the don’t stick together.
Cooking Steps
- Place the baking sheet with the cheese circles in the oven near the top.
- Bake for 5-7 minutes until the cheese is melted and bubbly, AND the edges are slightly crisp. The cheese will melt quickly, but the edges take time to crisp up.
- Cook only 1 batch of taco shells at a time. They need to be close to the top of the oven otherwise they will not be golden brown and shape correctly.
- Remove the baking sheet from the oven. Let the circles cool for about 1 or 2 minutes to firm up slightly. Use paper towels to dab any oil that may pool on the cheese taco shell.
- If you are making more taco shells, start the second batch now in the oven.
- Carefully lift each cooked cheese circle (either with a spatula or your fingers, being careful to not burn yourself) and drape it over your cooling rack.
- Let the shells cool for about 15 minutes to take shape. Remove from the cooling rack and set aside. Repeat for any additional taco shells that are being cooked.
- Fill the shell with your favorite fillings and enjoy!
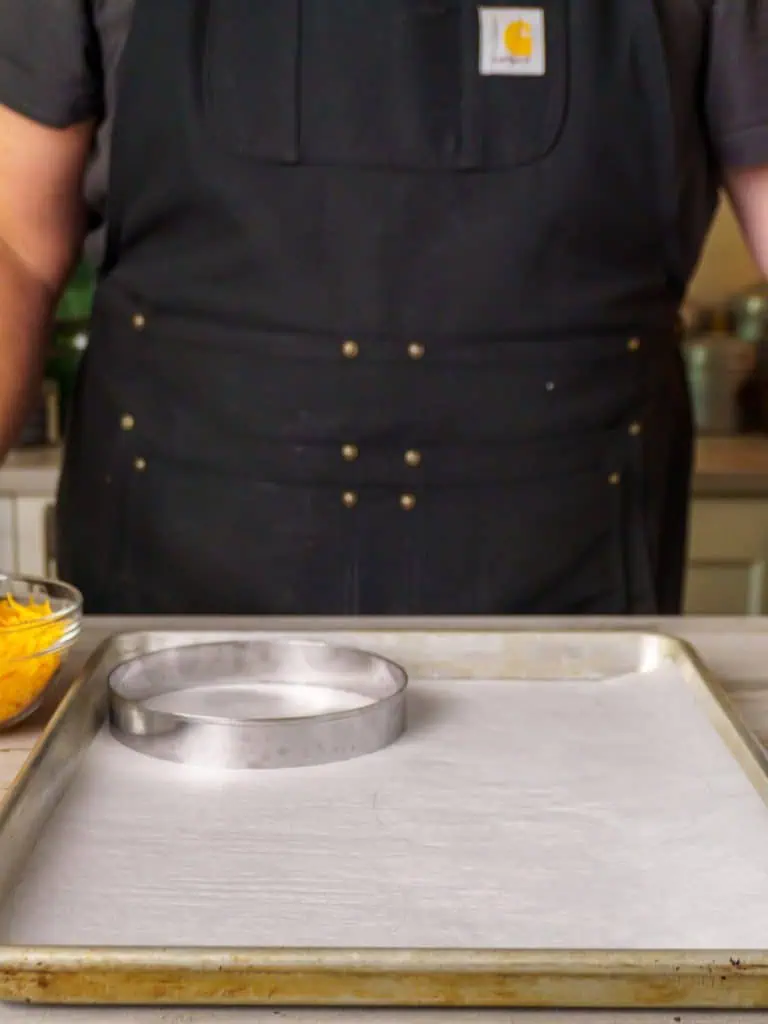
Step 1:Prepare a baking sheet with parchment paper and place a metal ring for shaping.
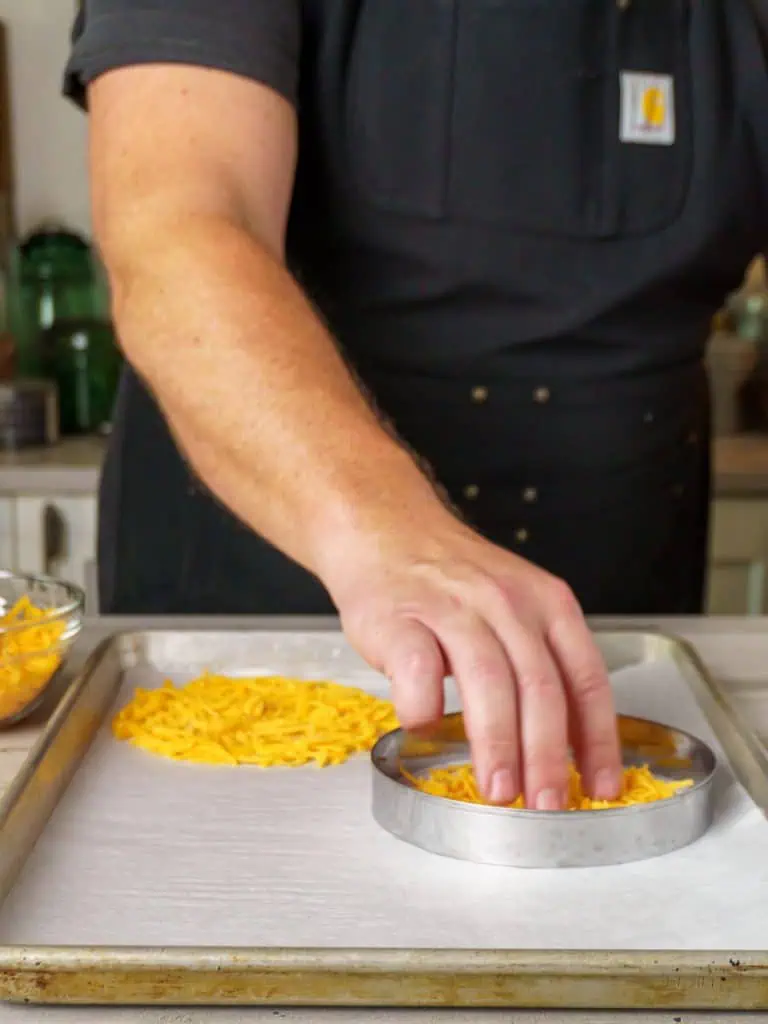
Step 2: Place shredded cheddar cheese inside the metal ring on the baking sheet.
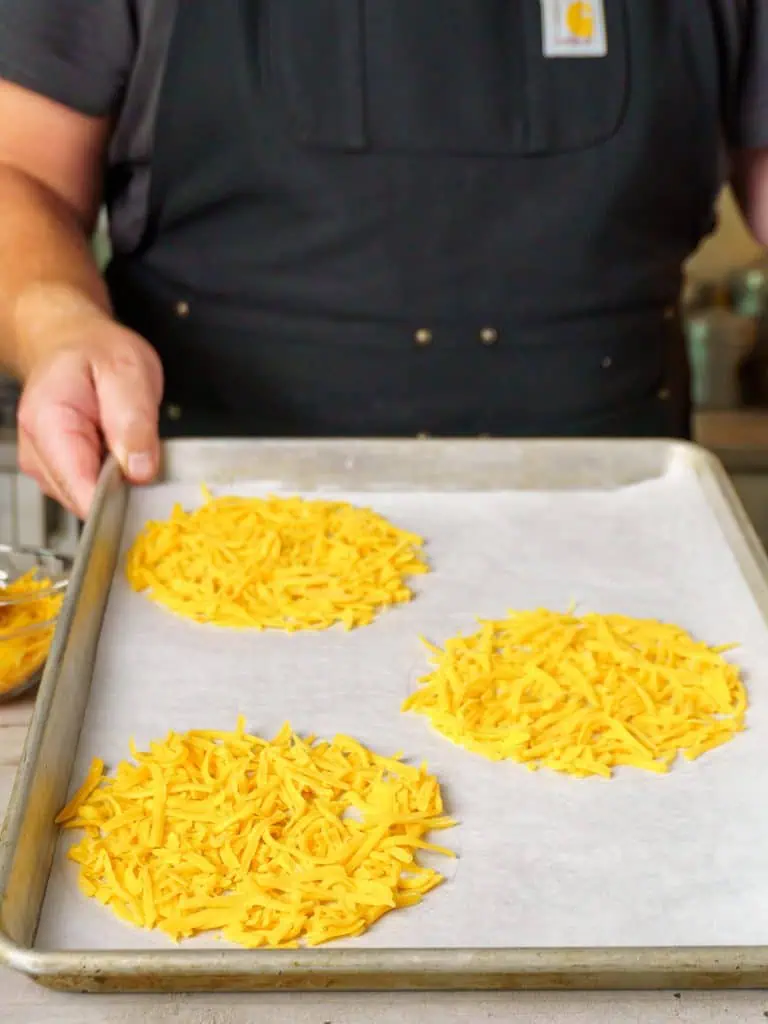
Step 3: Arrange three mounds of shredded cheddar cheese on the parchment-lined baking sheet.
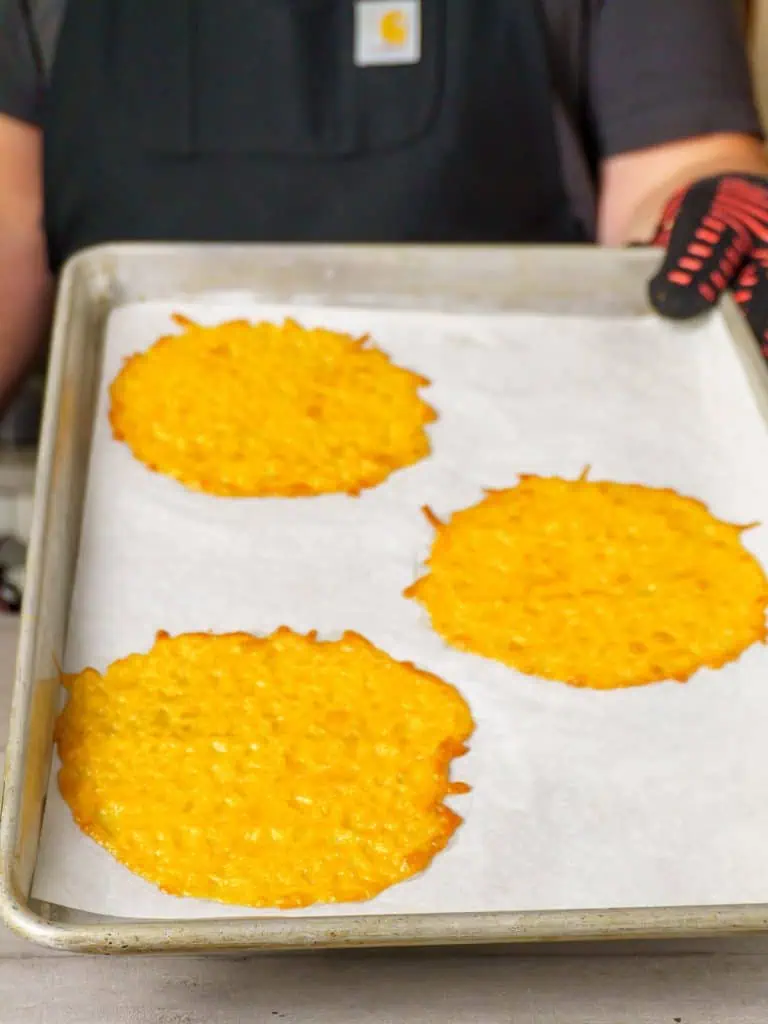
Step 4: Bake the cheese circles until melted and edges are slightly crisp.
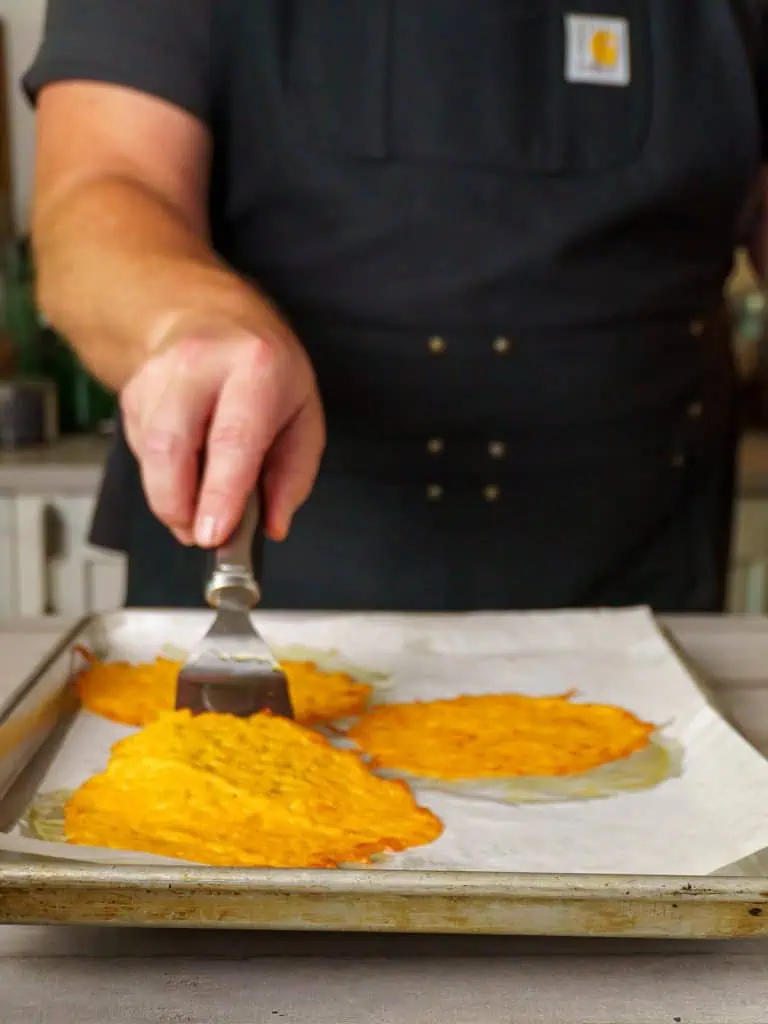
Step 5: Remove the cheese circles from the oven and let them cool slightly. Carefully lift each cheese circle with a spatula.

Step 6: Drape the melted cheese circles over a wooden dowel to shape into taco shells.
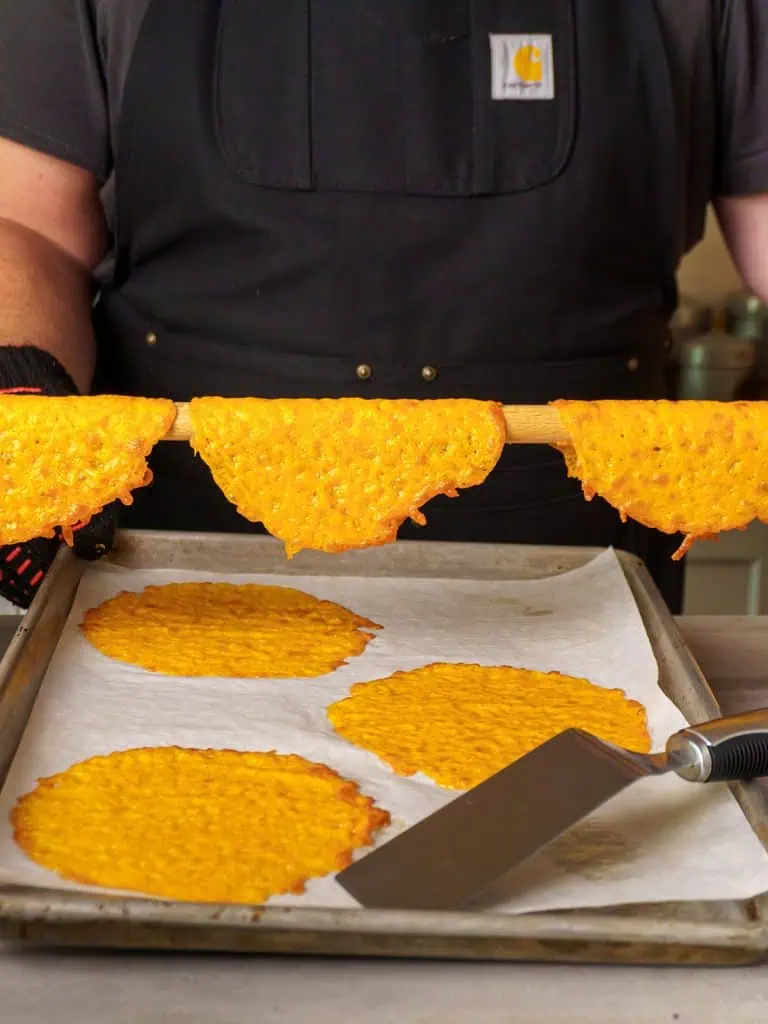
Step 7: Allow the cheese circles to cool and harden into taco shell shapes.
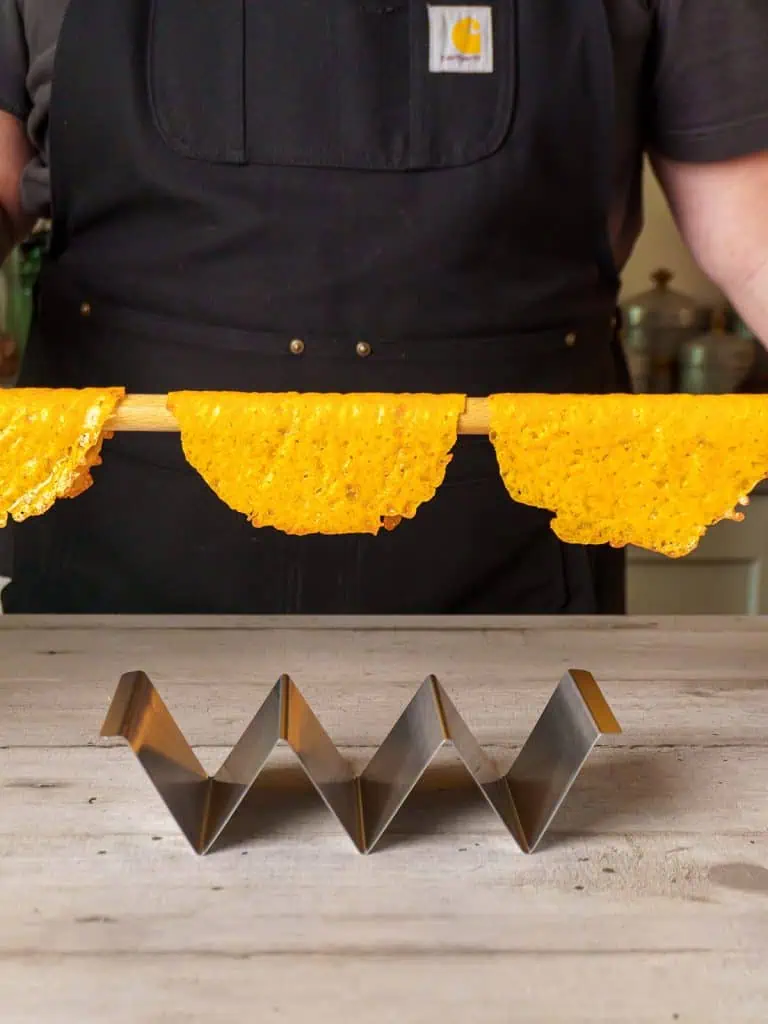
Step 8: Prepare metal taco stand.
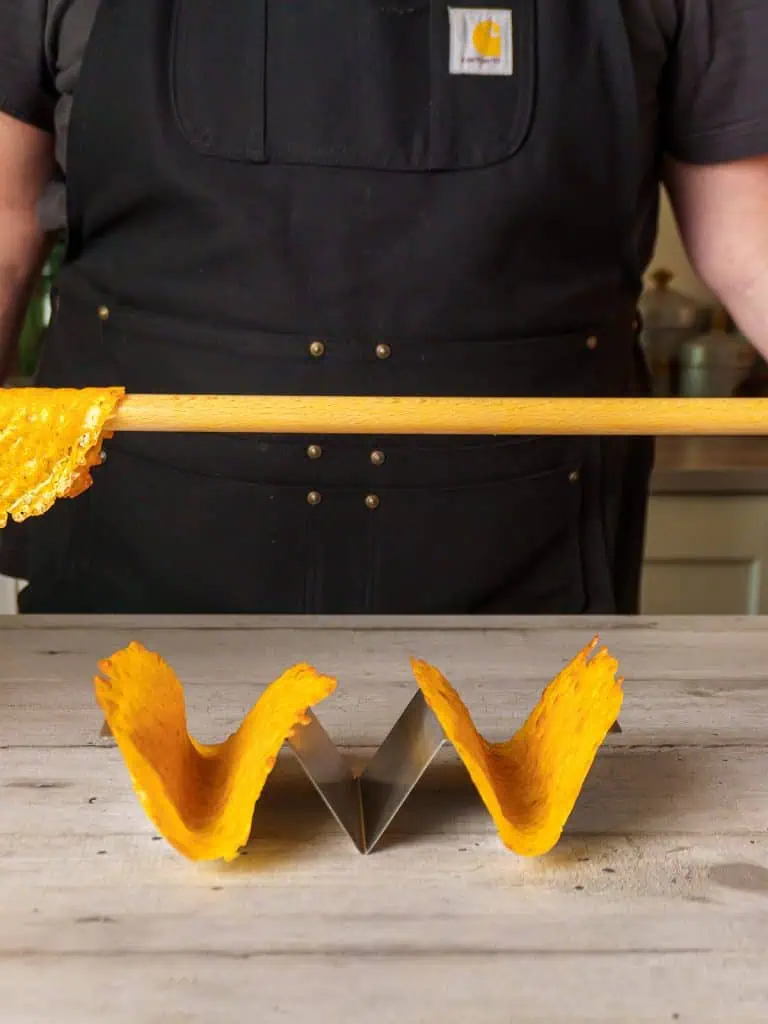
Step 9: Place the hardened cheese taco shells on a metal taco stand.
💡 My Pro Tips
- Quality cheese matters: Lower-quality cheddar often has a high oil content, which keeps costs down because oil is cheaper than dairy. However, during baking, these oils separate from the cheese, and with discount cheese, the excess oil can prevent the keto cheese taco shells from forming properly. Investing in good-quality shredded cheese will save you time and the hassle of constantly dabbing off oil with paper towels.
- Cooling time is key: Let your cheese taco shells rest on the cooling rack for about 15-20 minutes. This helps them firm up and hold their shape better. After around 30 minutes, the greasy feeling starts to disappear, making the shells even more enjoyable to eat.
- Creating a taco-making station: Instead of using multiple wooden spoons and glasses to drape your cheese taco shells, which can be impractical and clutter your kitchen, try this alternative setup. Head to your local hardware store and get dowels slightly smaller than a broom handle’s diameter. These create the perfect taco shells, allowing plenty of space for toppings.
- Pro tip for dowels: Support the dowels with two yoga blocks so the shells can drape properly. Coat the dowels with food-grade mineral oil (cutting block oil) to prevent the cheese grease from seeping into the wood and turning rancid. This setup is quick and will save you a lot of time in the long run; also, you will get perfect taco shell shape everytime!
- Efficiency boost: With this setup, you can drape 3-4 cheese taco shells at a time over each dowel, making it possible to prepare 12 to 15 shells in less than 30 minutes. Plus, you won’t have to clean up a ton of glasses and wooden spoons, making the whole process much more efficient.
⏲️ Time-Saving Tips
- Use store-bought shredded cheese: While I love shredding my own cheese to avoid anti-clumping agents, using store-bought shredded cheese saves time and sometimes even forms better taco shells. The added starches might help the cheese hold together more effectively.
- Use a 6” ring mold: Instead of drawing circles on parchment paper, which can be tedious and frustrating, use a 6” ring mold. It’s affordable, can be used for other recipes, and makes the process much faster. Just dump the cheese in, spread it out, and move on to the next one.
- Prepare multiple baking sheets: When making these cheese taco shells in bulk, prepare 2-3 baking sheets at a time. Each sheet can hold about three taco shells. For my family, I usually make three shells per person, so I bake four sheets of shells. While one batch bakes, I prep the next sheet to keep the process efficient.
- Set up a taco-making station: Instead of propping wooden spoons on glasses to make one shell at a time, set up a more efficient station. As mentioned in my Pro Tips, I bought dowels from the hardware store, treated them with mineral oil, and set them up on yoga blocks. This setup allows me to cool 3-4 shells on each dowel, saving a lot of time and making cleanup easier.
What To Serve With Cheese Taco Shells?
I often pair cheese taco shells with a variety of delicious fillings and toppings to create a truly satisfying meal. Here are some of my favorites:
- Shredded Chicken: Juicy and flavorful, shredded chicken is a perfect filling for cheese shell tacos. Season it with your favorite spices and a squeeze of lime for an extra burst of flavor.
- Pulled Pork: Pulled pork is a perfect low carb taco meat if you want something super flavorful. Slow-cooked to perfection, it pairs wonderfully with a tangy barbecue sauce.
- Ground Beef: Classic and versatile, seasoned ground beef is a go-to filling for low carb beef tacos. Add some taco seasoning and a bit of salsa for a tasty, easy-to-make meal.
- Sautéed Onions: Sweet and caramelized, sautéed onions add a delicious depth of flavor to your tacos. They’re a great addition to any of the above fillings, enhancing the overall taste and texture.
Storage, Freezing, And Reheating Instructions
Storage Tips
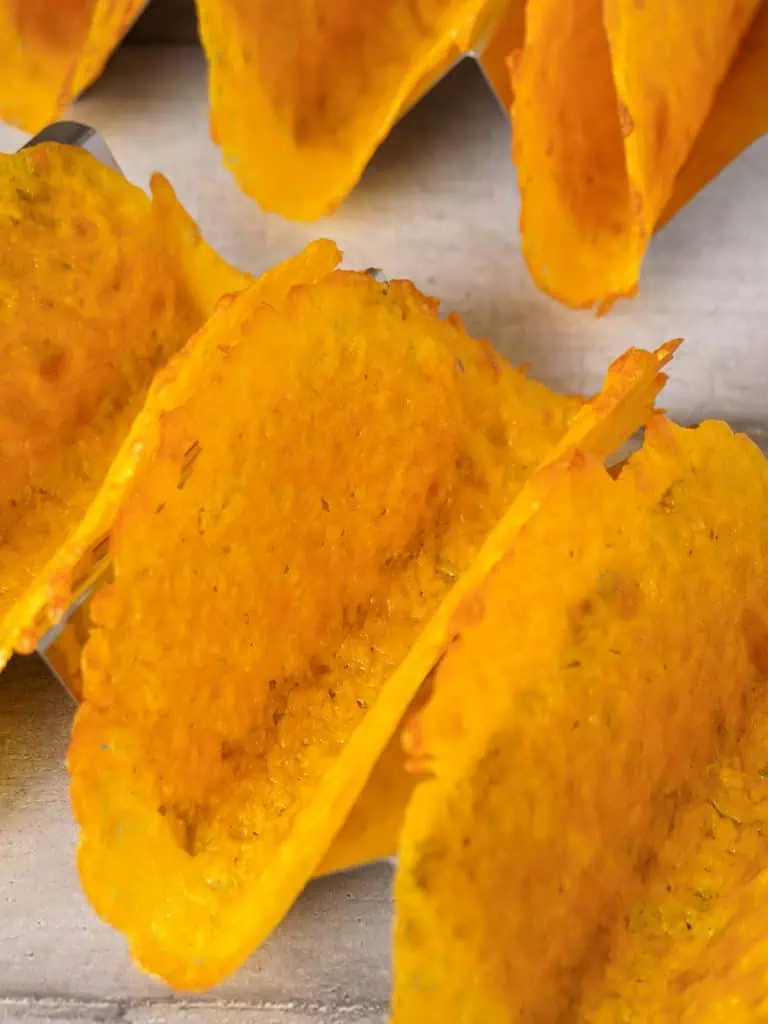
Once the taco shells have cooled and taken shape, it’s best to stack the leftover taco shells together and wrap them in several sheets of plastic wrap. Leaving them on the counter at room temperature keeps them pliable, but I only recommend this for a few hours. After that, the low carb cheese taco shells start to get firm and difficult to bite through.
Storing the shells in the fridge causes them to expel moisture and become tacky on the surface, which isn’t pleasant to eat. I’ve found that the best experience comes from eating the shells within about an hour of making them.
Reheating Tips
Reheating these shells turns them into a floppy mess, so it’s best to enjoy them fresh rather than soft taco shells.
Freezing Tips
I’ve tried freezing these taco shells, but they develop a moisture issue when defrosting, making them unpleasant to eat. I do not recommend freezing them.
Recipe Conclusion
I’m constantly inspired by the creativity within the low carb and keto cooking community online. I wish I could credit the original creator of that crispiest cheese taco shells video I watched years ago, but their name escapes me. To whoever you are, thank you! As I mentioned in the sidebar and throughout this site, together, we are stronger, and these amazing recipes show we can still enjoy foods we thought we’d never eat again.
You won’t believe how delicious these taco stuffed shells with cream cheese are! My family loves Mexican food, especially tacos, and I’m so happy to join them in creating custom tacos on Taco Tuesday. It’s a joy to see them prefer my crispy cheese taco shells over traditional corn tacos—it truly makes me feel good.
Ready for a low carb taco night? I hope you enjoy this recipe as much as we do. Have a fantastic time in the kitchen, and feel free to leave any questions or suggestions in the comments. You can also find me on Facebook or Instagram.
Other Taco Recipes To Try
FAQs
Keto taco shells that are sold in the store in piles of cheese, and are made of ingredients that I am not sure are exactly keto. To be sure you are enjoying a truly keto taco shell, make it yourself by creating cheddar cheese taco shells.
Heat a small nonstick pan over medium-high heat. Add ¼ cup of grated cheese and cook until melted, bubbly, and the edges are crisp. Use a spatula to free the cheese and slide it onto a plate. Dab off excess oil, then drape the cheese over a wooden spoon propped on two glasses to form the taco shell. Alternatively, use a taco shell maker.
You can choose any cheese you like, but remember it should have less oil, or else it will lower the quality of your low carb taco shells.
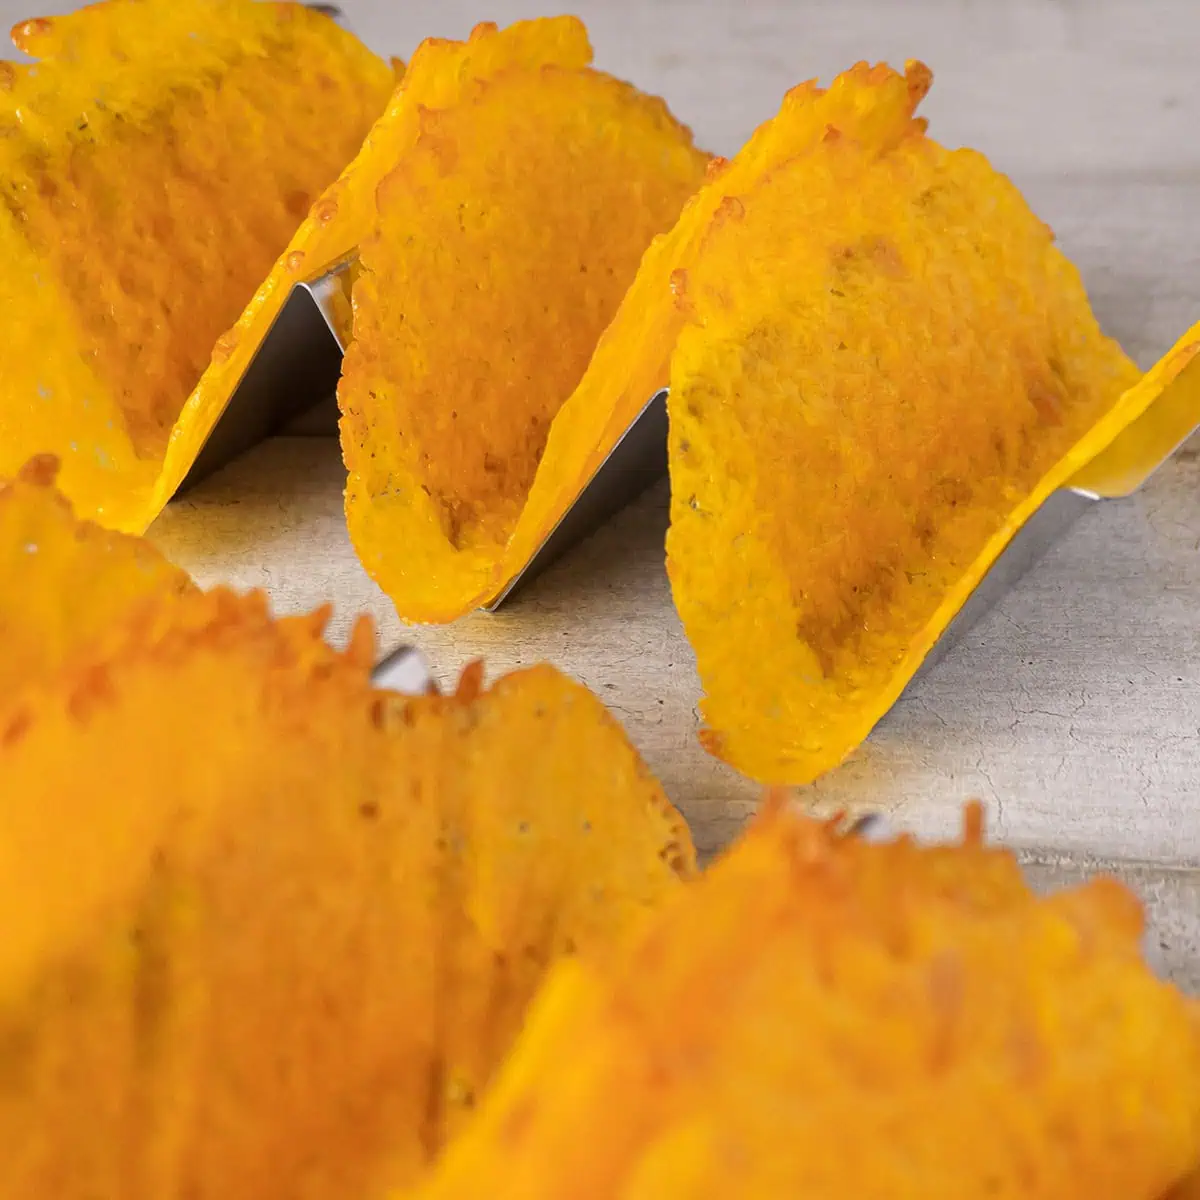
Cheese Taco Shells
Ingredients
- 2 cups shredded cheddar cheese
Instructions
Preparation Steps
- Preheat the oven to 400F (200C) and arrange the rack so that it is near the top of the oven.
- Create your cooling rack, either as a station as I have described or by propping up several wooden spoons over glasses.
- Line your baking sheet with parchment paper.
- Either use a 6” ring mould or draw three, 6” circles on the parchment paper. If drawing on the parchment paper, flip the paper over so the graphite does not get into your cheese taco shells. You will still be able to see the lines through the paper.
- Place about ¼ cup of shredded cheese onto the baking sheet inside the ring mould or inside the lines that were drawn on the parchment paper. Be sure to leave some space between each circle so the don’t stick together.
Cooking Steps
- Place the baking sheet with the cheese circles in the oven near the top.
- Bake for 5-7 minutes until the cheese is melted and bubbly, AND the edges are slightly crisp. The cheese will melt quickly, but the edges take time to crisp up.
- Cook only 1 batch of taco shells at a time. They need to be close to the top of the oven otherwise they will not be golden brown and shape correctly.
- Remove the baking sheet from the oven. Let the circles cool for about 1 or 2 minutes to firm up slightly. Use paper towels to dab any oil that may pool on the cheese taco shell.
- If you are making more taco shells, start the second batch now in the oven.
- Carefully lift each cooked cheese circle (either with a spatula or your fingers, being careful to not burn yourself) and drape it over your cooling rack.
- Let the shells cool for about 15 minutes to take shape. Remove from the cooling rack and set aside. Repeat for any additional taco shells that are being cooked.
- Fill the shell with your favorite fillings and enjoy!
Notes
Nutrition
“This website provides approximate nutrition data and information for convenience and as a courtesy only.”
Recent Low Carb Recipes:
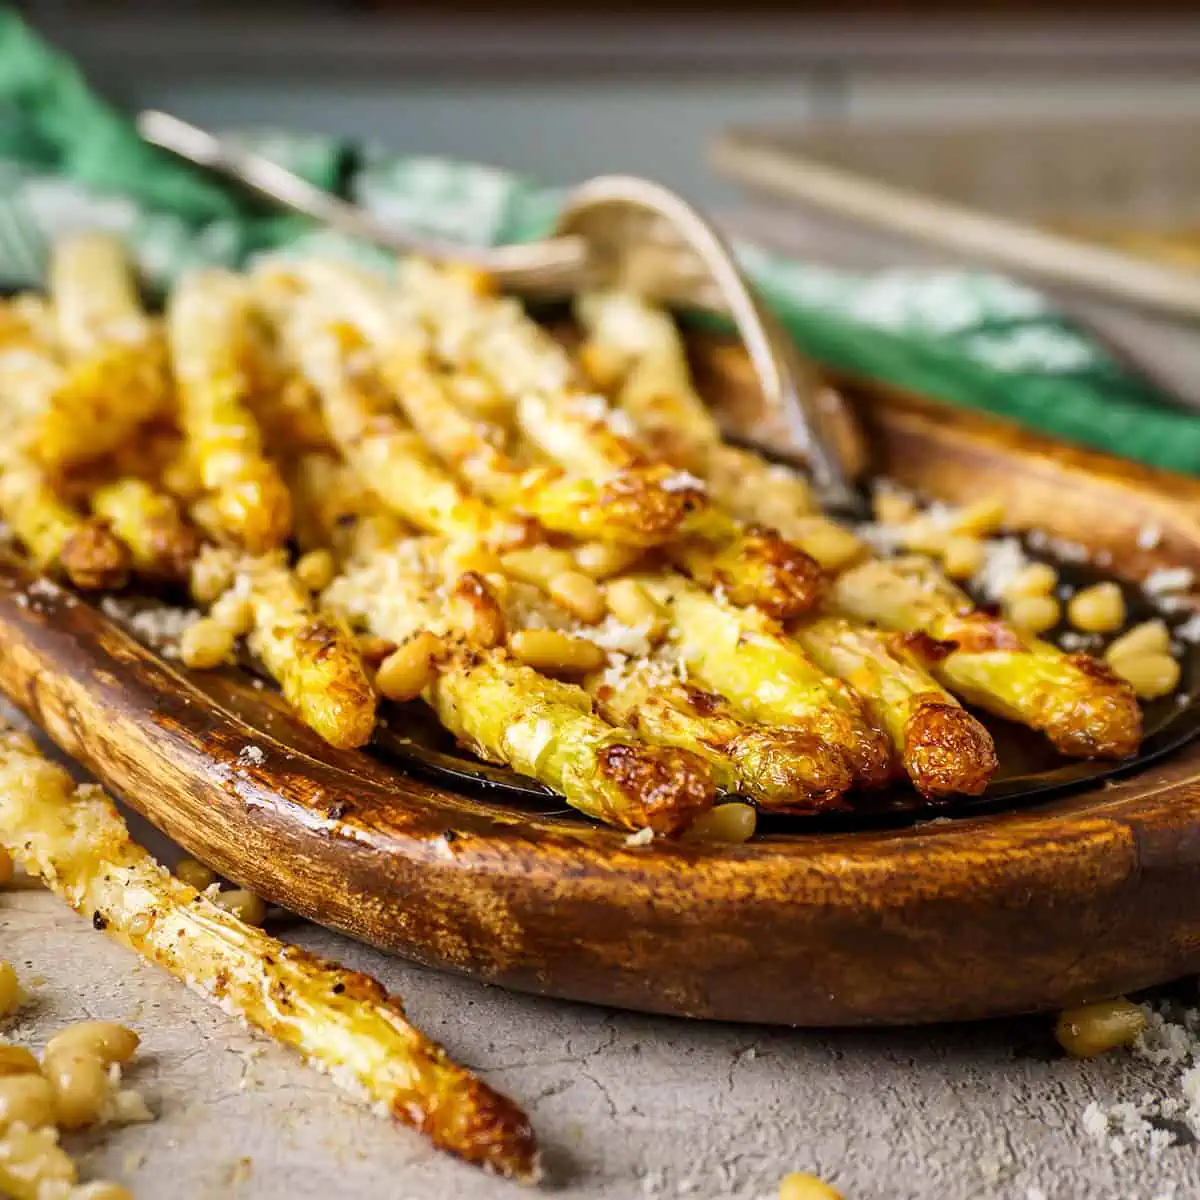
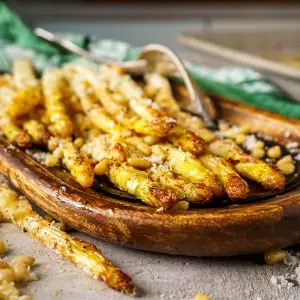
The BEST White Asparagus Recipe
This is hands-down the BEST White Asparagus Recipe I’ve ever made. With just a few simple steps, you’ll bring out deep, toasty flavors from this underrated ingredient. It’s crispy at the tips, tender in the center, and ready to serve with just about anything grilled.
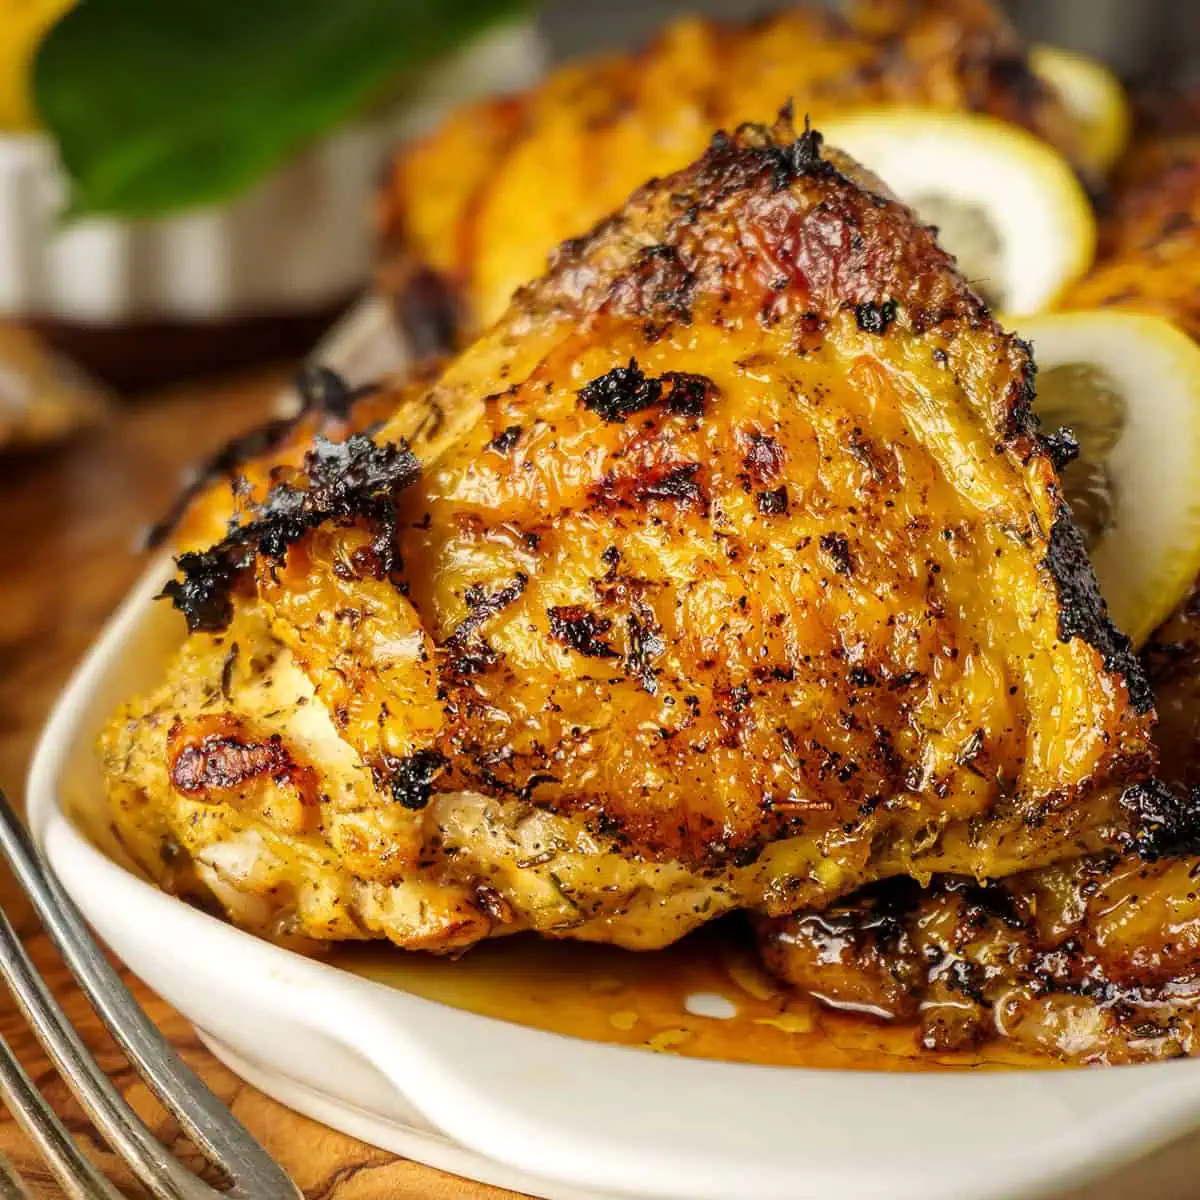
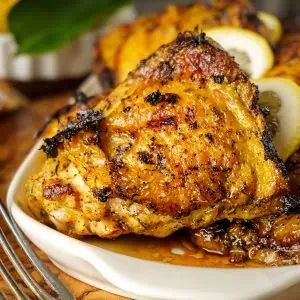
Grilled Lemon Pepper Chicken Thighs
When I think about a simple, crowd-pleasing chicken recipe, my Grilled Lemon Pepper Chicken Thighs are the answer. They’re juicy, packed with flavor, and easy to get on the table. Perfect for any night you fire up the grill.

5 Reasons to Love Rotisserie Chicken
Rotisserie chicken is one of those simple kitchen wins that never lets me down. From saving time to adding instant flavor to a meal, I keep going back to it week after week. In this video, I’m sharing the five reasons why it’s always on my list.
Is it low carb? Learn more about it:
Understanding Carbs In Guacamole: Low Carb or Keto?
Delve into the world of guacamole and its carb content—essential knowledge for low carb and keto enthusiasts. Avocado’s creamy texture
What is Low Carb Diet? Carb Confusion Conquered!
Ever wondered what a Low Carb Diet really entails? I’ve broken down the basics to help you understand how reducing

Low Carb Diet for Weight Loss: Does It Actually Work?
Many studies suggest that a low carb diet can indeed be effective for weight loss. By restricting carbohydrates, the body
Sharing is caring!


